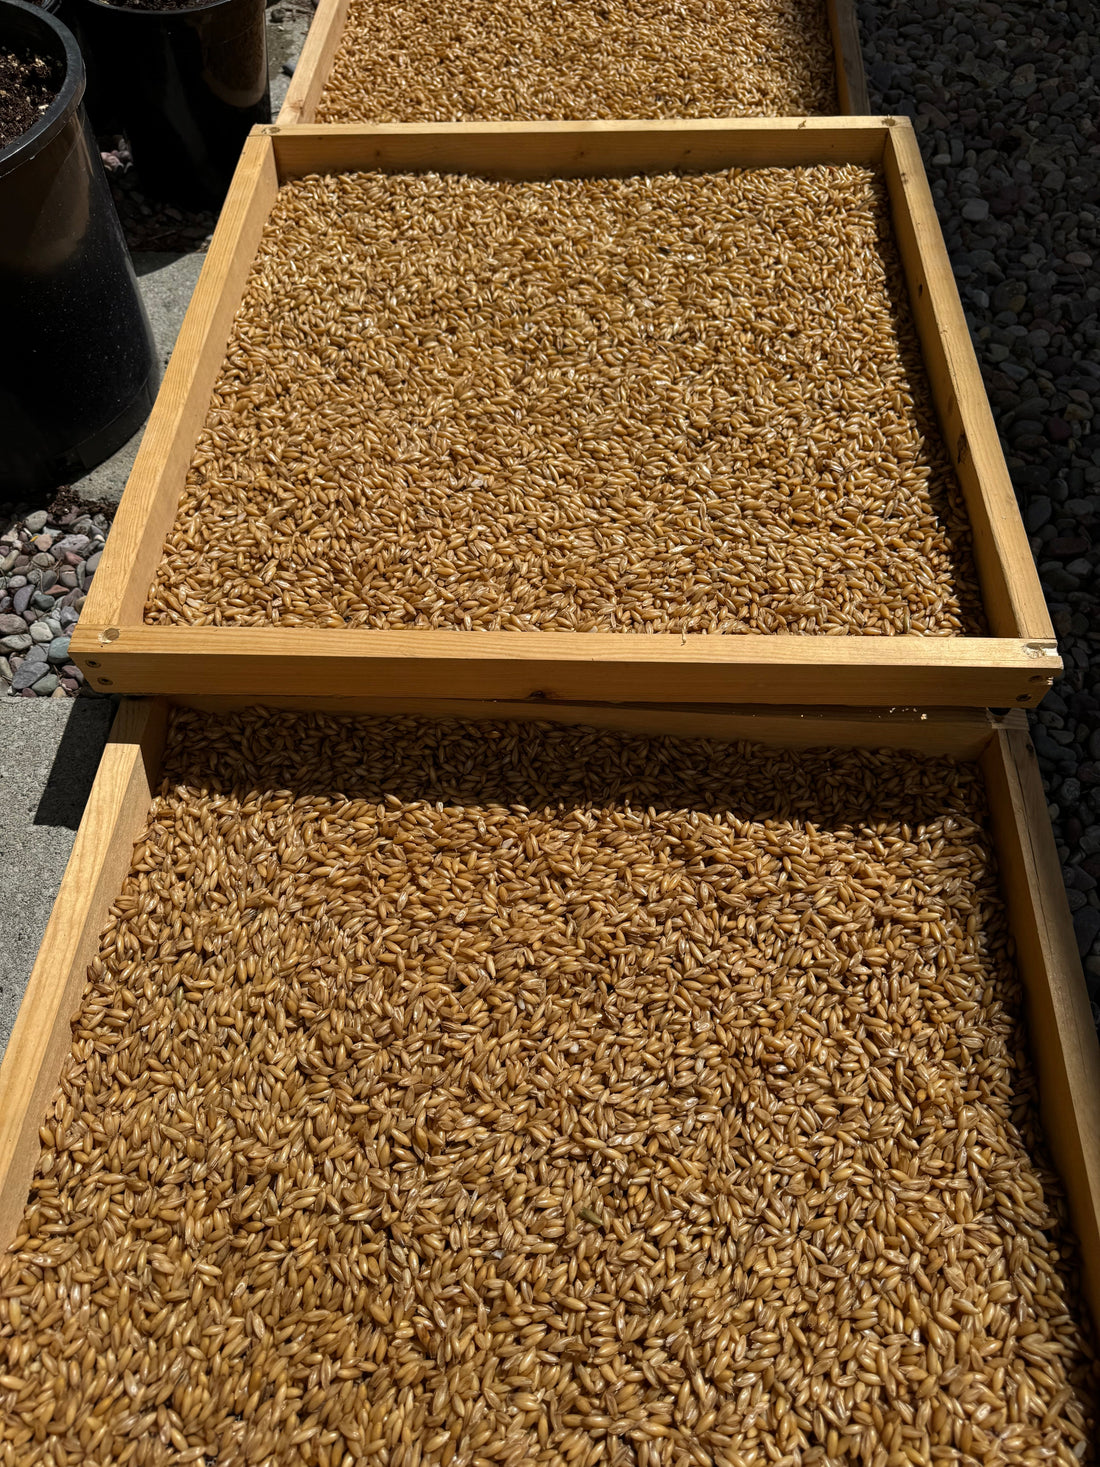
DIY Cold Dehydrator & Grain Drying Rack
Share
DIY 20×20-Inch Cold Dehydrator & Grain Drying Rack (Stackable Design)
This guide walks you through building a 20×20-inch cold dehydrator using a standard box fan, 1×2 lumber, and stainless steel mesh. The design allows for multiple stackable racks, each with dowel legs for stability and a flush fit. The bottom rack includes taller legs to create a gap for airflow. This setup works for drying fruits, herbs, and vegetables while preserving nutrients — and doubles as a high-capacity grain dryer for mushroom spawn preparation.
Why Cold Dehydration?
Unlike heated dehydrators, a cold-dehydrator uses ambient air moved by a fan. This gentle airflow preserves beneficial nutrients that can degrade under heat, keeps enzymes active in raw foods, and avoids premature gelatinization in grains. For mushroom cultivators, cool air drying is ideal for grain spawn prep — it removes surface moisture without cooking the grain, helping prevent bacterial contamination.
Materials & Supplies
Quantities below are for building 4 racks (each 20×20 inches) with 2-inch sides. Add or subtract materials if you want more or fewer racks.
Lumber
-
1×2 pine boards (actual size 0.75″ × 1.5″):
- 32 × 20-inch pieces (frame sides)
- 16 × 17-inch pieces (frame crosspieces)
- 4 × 6-inch legs for bottom rack
- 12 × 2-inch dowel legs (0.75-inch diameter) for upper racks
Mesh & Hardware
- Stainless steel mesh with ~1/16″ to 1/8″ opening — 4 sheets at 20×20 inches
- 1-inch wood screws (about 100)
- 0.75-inch wooden dowels (cut to 2-inch lengths for upper rack legs)
- Wood glue (optional for extra rigidity)
- Staple gun & 3/8-inch stainless steel staples
- Hand saw or miter saw
- Drill with 3/4-inch bit (for dowel holes)
- Measuring tape & pencil
- Sandpaper (medium grit)
Fan
- Standard 20-inch box fan
Cut List for 4 Racks
| Part | Qty | Length | Notes |
|---|---|---|---|
| Frame Sides | 32 | 20″ | Two per side for each rack |
| Frame Crosspieces | 16 | 17″ | Fits between side boards to make 20″ outer width |
| Bottom Rack Legs | 4 | 6″ | Elevates the whole stack for airflow gap |
| Upper Rack Dowels | 12 | 2″ | For stacking stability; insert into rack below |
| Stainless Steel Mesh | 4 | 20″ × 20″ | Cut with tin snips; wear gloves |
Step-by-Step Assembly
1) Build the Frame
- Lay out two 20″ frame sides and two 17″ crosspieces in a rectangle (17″ inside the 20″ sides).
- Pre-drill screw holes to prevent splitting, then attach corners with two screws each.
- Repeat for all 4 racks.
2) Attach the Mesh
- Lay the mesh over the frame, leaving 1″ overlap on all sides.
- Start stapling along one side, pulling mesh tight as you move.
- Work around the frame in a crisscross pattern — opposite sides first — to keep tension even.
- Trim excess mesh with tin snips.
- Optional - add hot glue from glue gun along the seem of the mesh and over staples
3) Add Legs
Bottom Rack (Tall Legs)
- Attach the 6-inch legs at each corner of the bottom rack, flush with outer edges for stability.
Upper Racks (Dowel Legs)
- Drill a 3/4-inch hole about 1/2-inch deep into the bottom of each corner of the upper racks.
- Glue and insert 2-inch dowels into these holes, leaving ~1.5 inches exposed.
- Drill matching 3/4-inch holes in the top corners of each rack frame so dowels from the rack below can slot in flush.
4) Stack & Align
- Place the bottom rack on a flat surface.
- Stack the next rack by inserting dowels into the top holes of the rack below.
- Continue stacking — the flush fit ensures air only passes downward through all racks.
- Place the box fan on top, facing downward, so air blows through all racks to the gap at the bottom.
Using Your Cold Dehydrator
As a Food Dehydrator
Spread thin layers of fruits, vegetables, herbs, or other foods evenly across each mesh surface. Turn on the fan and allow cool air to circulate down through the stack. This method helps preserve vitamins, minerals, and enzymes that can be degraded by heat.
As a Grain Dryer for Spawn Prep
After simmering you can use racks for straining and drying grains for mushroom grain spawn - spread them on the stainless mesh racks in a thin, even layer. Cool airflow quickly removes surface moisture without raising the grain temperature, reducing contamination risk. Stainless mesh allows water to drip away while air circulates freely.
Scaling Up
This design is modular — make as many racks as you need. Each additional rack requires 4 frame sides, 2 crosspieces, 1 mesh sheet, and 4 dowels. As long as the fan on top matches the stack size, airflow will be consistent.
Benefits of Cool Dehydration
- Nutrient Preservation: Low-temperature air drying preserves vitamins, enzymes, and antioxidants.
- Better Flavor & Color: Gentle drying prevents browning and off-flavors caused by heat.
- Energy Efficient: A box fan uses far less power than heated dehydrators.
- Multi-Purpose: Same unit works for raw food dehydration and mushroom grain prep.
Ready to Build?
With just a few hours of work and some basic tools, you can create a professional-quality cold dehydrator that stacks neatly, holds large batches, and doubles as a grain spawn drying rack. Try building a 4-rack system to start — you can always add more later.

